Thursday, 22 March 2012

I haven't finished the Stug III crew figures as i am now about to get some new ones from Friendship models, wee friends range. keep posted to see them soon!
In the meantime it's back to building and what a great subject i have chosen. A Panzer II Ausf. C from the German Polish campaign. Kit by Tamiya 1/35th scale.
After only a few hours of building it is nearly finished. Beautifully engineered as always. It has went together no problem at all. A small amount of filler was needed along some of the armour plating but that might just be me. A few more weld seams with stretched sprue and liquid poly were added to the turret. I have also added two small spacers on the antenna trough with 'v' shapes cut into them. This is for the Aerial to sit on when it is folded down. And finally a bit of care when assembling the track but that's it.
More pics to follow when i have completed the construction.
box art

The basic components

Monday, 19 March 2012


It wasn't until i had bought the trailer version of the Dragon Wagon that i realised how big the finished model would be. Where do you keep it apart from in a big box. I regularly attend the War and Peace show at the Hop Farm in Kent and the last few years there has been the real thing. Where do you keep that!!!
Here's one from a while ago. 1/35 scale, Tamiya M26 Dragon wagon, tractor unit version with 'A' crane on the back. 
Brilliant kit to make, typical Tamiya engineering. Thanks to Keith for the photographs.


The ingredients.
The filler mixture ready to apply.
I gave the base a few coats of the textured paint and left it to dry and harden over night. The next step was to apply some groundwork and for this i used good old polyfilla, wood glue and some paint. Mixed up with some water to give a good texture for application. Smooth the mixture over the base and ensure all the corners are given a good amount. I added some small clumps of twigs to add another dimension to the ground cover. I fixed them into the wet mix, easy. As the inside of the Stug can be seen a placed the vehicle into the wet plaster to ensure it would bond in and be more robust for handling in the future. I usually use a screw through the tank hull bottom into any base to ensure there won't be an accidents whilst in transit. Once the plaster had dried i added the snow to the base and tracks. I used Scenic bond brand. easy to use and a great end result.

The Stug III sitting in the plaster.


Snow added.


The stowage on the back is a Legend set and is made from resin.
It is a perfect fit and only needed painting.
Recommended (see web link for Friendship models on the right of blog)


I am currently painting two figures for this so i'll add a couple of pics as and when.

It's been a while so here is an update on the Stug III F. It's finished! as i had been building and painting it before i started this blog, i have put together a series of pictures about the base. 


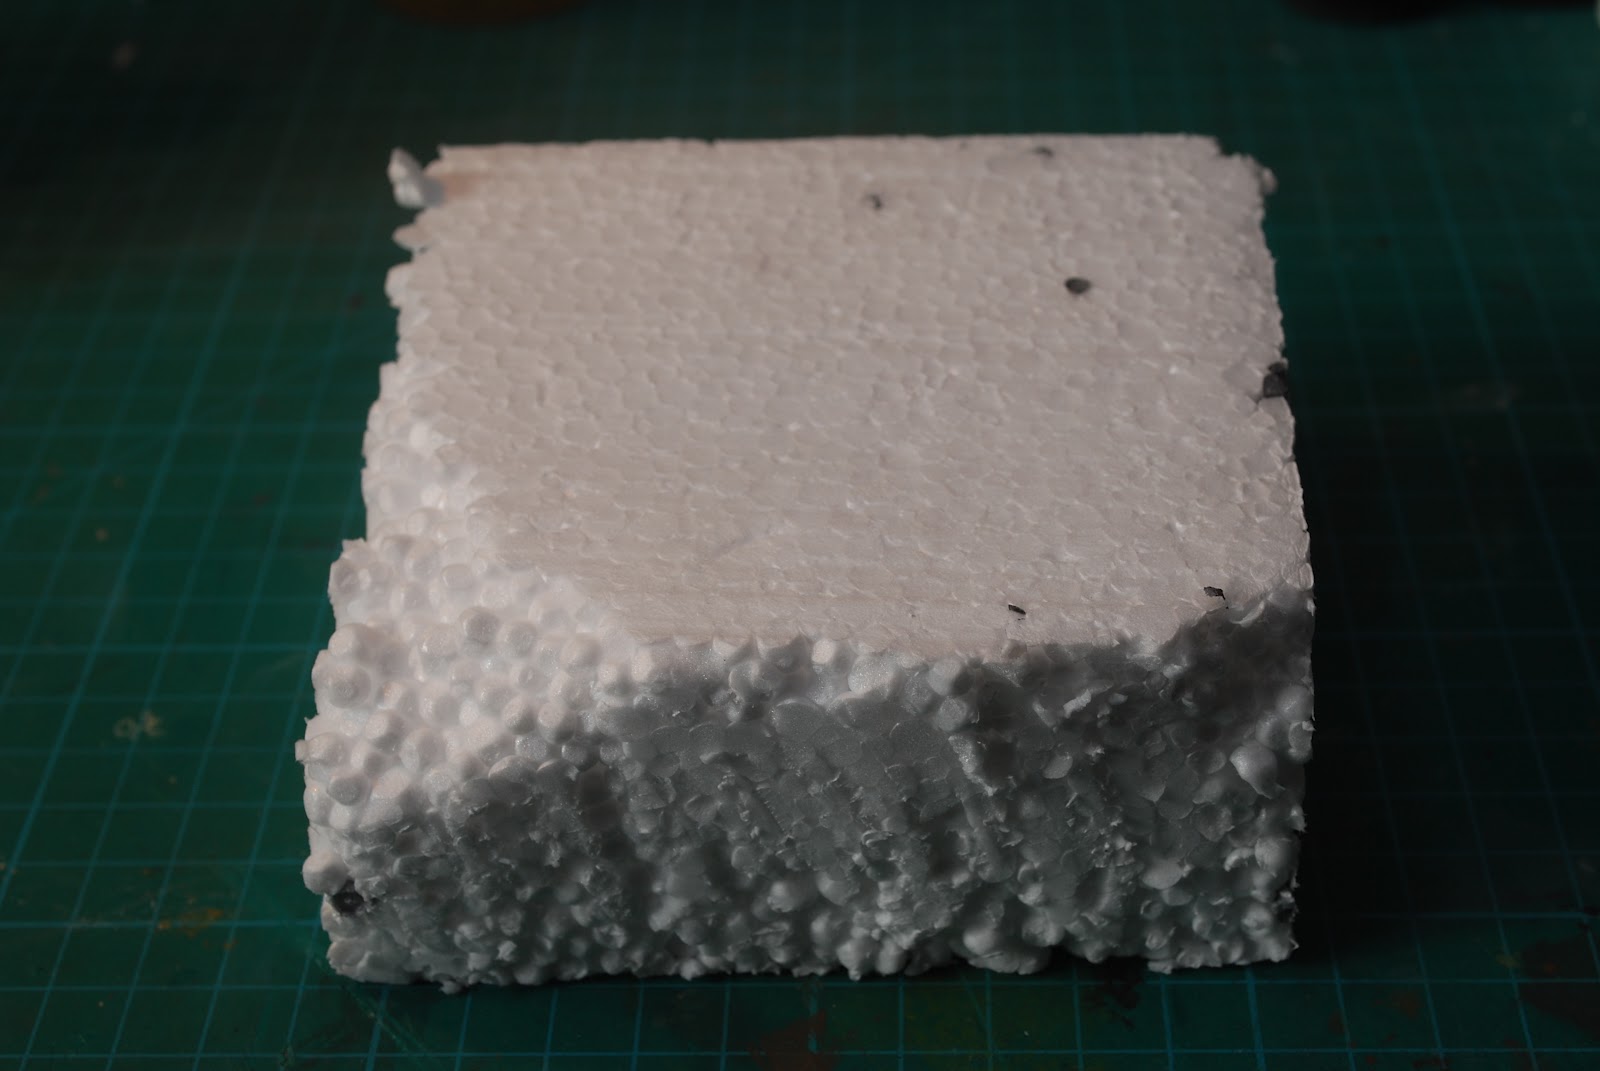
 From a sheet of plastic card, i measured up suitable dimensions and cut out. Make up a square with right angles and insert corner strengthners. This creates a simple but strong box. Insert a rough cut bit of polystyrene and trim to shape. i decided to try something different with the base and so i used a textured aerosol paint, which i must say looks great. I certainly be using this technique again.


Thursday, 23 February 2012


Here is my Tiger I. This is the AFV Club model in 1/35th scale. I've added fruil metal tracks and scratch built a few items such as the turret track holders and i replaced the side skirts with aluminium printers plate and punch and die bolt heads. I painted it in a dark yellow with brown and green camo airbrushed on. This is my first attempt at the 'hairspray' technique and i am very pleased with the outcome. the base is an IKEA picture frame with bits and bobs from the spares box. Crew figures from Verlinden.
A big thank you to Keith for the photography and the photoshop as well.
Nothing of note in the last few days but i am now getting onto the finishing stages of a 1/35th scale (Dragon) Stug III in a faded winter camo scheme, so hopefully i'll have some pics up next week. I've started painting the crew figures and will post some pics of their progress as well. I will be starting a small base for it all to go on and this will also be posted as and when.