I'm going to start with a model i finished for the IPMS Edinburgh December competition.
Dragon's Panther G 1/35 scale. I had started this model some time ago and it was sitting half built so i decided i would now finish it and get it ready for the club meeting. As it had been started and with my enthusiasm to finish, there aren't many pictures of the build. I built it straight out the box and only added Fruil metal tracks to enhance it. Here is painting described by photographs and captions. The base is formed from a thick cardboard core from my work. I cut this at an angle and filled it in with house insulation foam sheeting. This product is great as it can be cut and sawn without too much mess unlike polystyrene. Once fitted into the cardboard, i cut and formed it to shape and added a layer of polyfiller. I undercoated the base in a grey primer from an aerosol can and then used my preferred texture paint to hide any blemishes and add texture at the same time. Paint was added to the polyfiller layer before the last of my teddy bear fur stash was glued on and painted. I finished the base with the same pigments i had used on the tank to blend it in.
 |
| Black undercoat applied by aerosol can. |

 |
| New paint set from AK Interactive. |
 |
| I started by painting the wheels. Undercoated in black and sprayed with a dark yellow from the AK set. A brown wash followed. |

 |
| Chipping was applied to all the wheels, this was quite a task! I began with dabbing a lighter yellow colour to the wheels by the use of a sponge and further enhancements by brush. The centres of the scratches and chips were painted in a black, brown colour leaving just a hint of the lighter colour around its edges. |


 |
| A selection of wheels. |
 |
| Hull and body sprayed in a 3 tone camo scheme, again using the AK paint set. |
 |
| Ambush spots applied. I was a bit sceptical about this stage and at one point considered respraying it. |

 |
| Mud application applied to hull. i used 5 or 6 different pigment colours and tapped them on from a brush. i added thinner for washes by MIG and moved some around whilst wet making sure the colours didn't mix to much thus ensuring different colours and tones to the dirt effect. |
 |
| Close up of pigment texture. |
 |
| Wheels added. The rubber tyres have been painted with different dark greys and black and a worn metal effect added to the rims where they would rub on the tracks. |

 |
| Sprocket teeth worn with metallic paint and a pencil. |
 |
| The same treatment to the rear idlers. Note the steel wheel at the rear of the chassis. |
 |
| The start of the base. |
 |
| Nearly there. |
 |
| Chipping added to the tank. The same principle as the wheels. |

 |
| Tracks on and detail painting complete. |
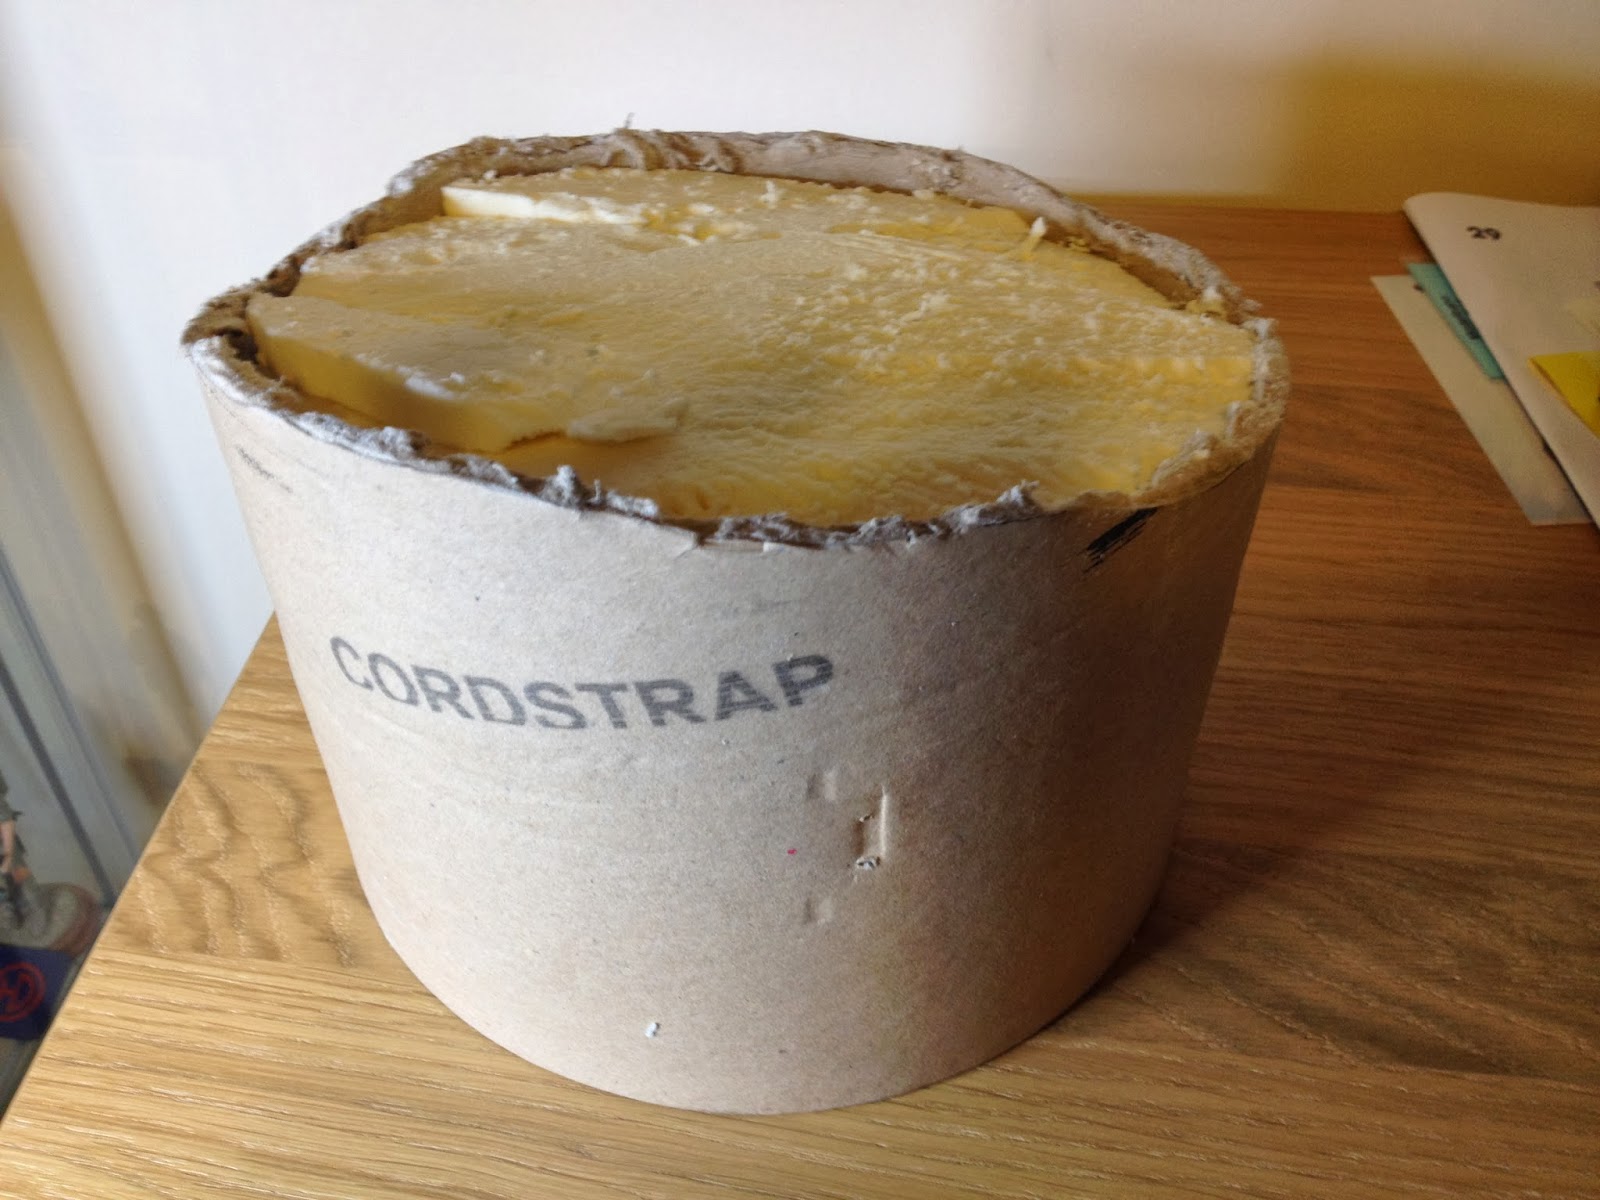 |
| Foam added and formed to shape. |


 |
| Crew figure from Alpine miniatures added to the cupola. These figure really are good. Super detail and a joy to paint. I added the wires to the head set. |


 |
| Side view. You can see the chipping, rain marks and dirt applied all over the armour plates. |

 |
| Finished! |


